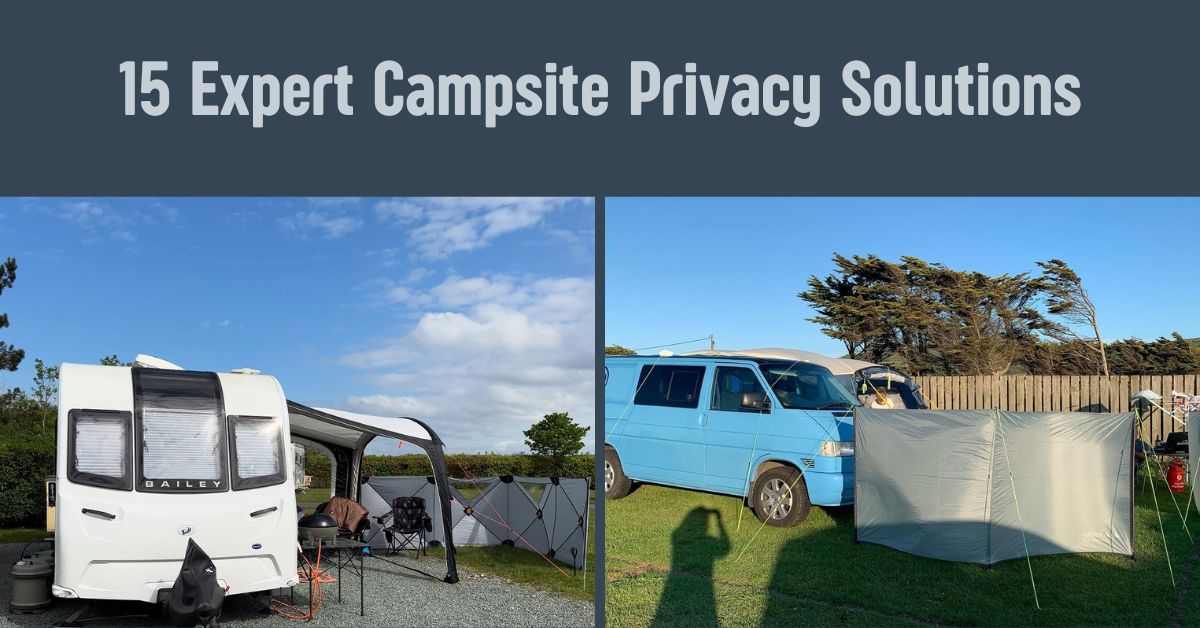
Are you tired of camping experiences that feel more like crowded neighborhoods than peaceful wilderness retreats? With campgrounds maximizing space by positioning sites closer together, achieving privacy has become a genuine challenge for outdoor enthusiasts. This comprehensive guide explores innovative and practical campsite privacy solutions that transform your outdoor space into a personal sanctuary where you can truly connect with nature without feeling on display.
Contents
- 1 Understanding the Privacy Challenge at Modern Campgrounds
- 2 Key Considerations Before Choosing Privacy Solutions
- 3 Portable Privacy Screens and Barriers
- 4 Utilizing Your Existing Equipment
- 5 Enclosure and Room Solutions
- 6 Specialized Privacy Solutions
- 7 Environmental Integration Strategies
- 8 Implementation Strategies for Different Camping Scenarios
- 9 Privacy Etiquette and Considerations
- 10 Conclusion: Creating Your Personal Outdoor Sanctuary
Understanding the Privacy Challenge at Modern Campgrounds
Today’s popular campgrounds often prioritize capacity over seclusion, creating environments where campers can feel exposed and uncomfortable. This proximity to neighbors can significantly impact your camping experience, turning what should be a relaxing getaway into a social obligation. Many campers report that lack of privacy ranks among their top camping complaints, yet most don’t know all the available solutions.
Achieving campsite privacy involves more than just visual barriers—it’s about creating a space that feels secure, comfortable, and truly yours. Whether you’re enjoying a weekend getaway, an extended vacation, or living the full-time RV lifestyle, these privacy solutions adapt to various camping styles, environments, and budgets.
Key Considerations Before Choosing Privacy Solutions
Before investing in privacy equipment, consider these important factors:
- Campground Regulations: Many campgrounds have specific rules about temporary structures and privacy screens. Always check the campground’s policies before arrival.
- Weather Conditions: Choose privacy solutions that can withstand typical weather at your destination. Wind resistance is particularly important.
- Setup and Takedown Time: The ideal privacy solution should be quick to install and dismantle, preserving more time for enjoyment.
- Portability and Storage: Consider how much space the privacy solution occupies when packed and whether it fits your storage constraints.
- Environmental Impact: Select options that minimize your ecological footprint and avoid damaging the natural surroundings.
Portable Privacy Screens and Barriers
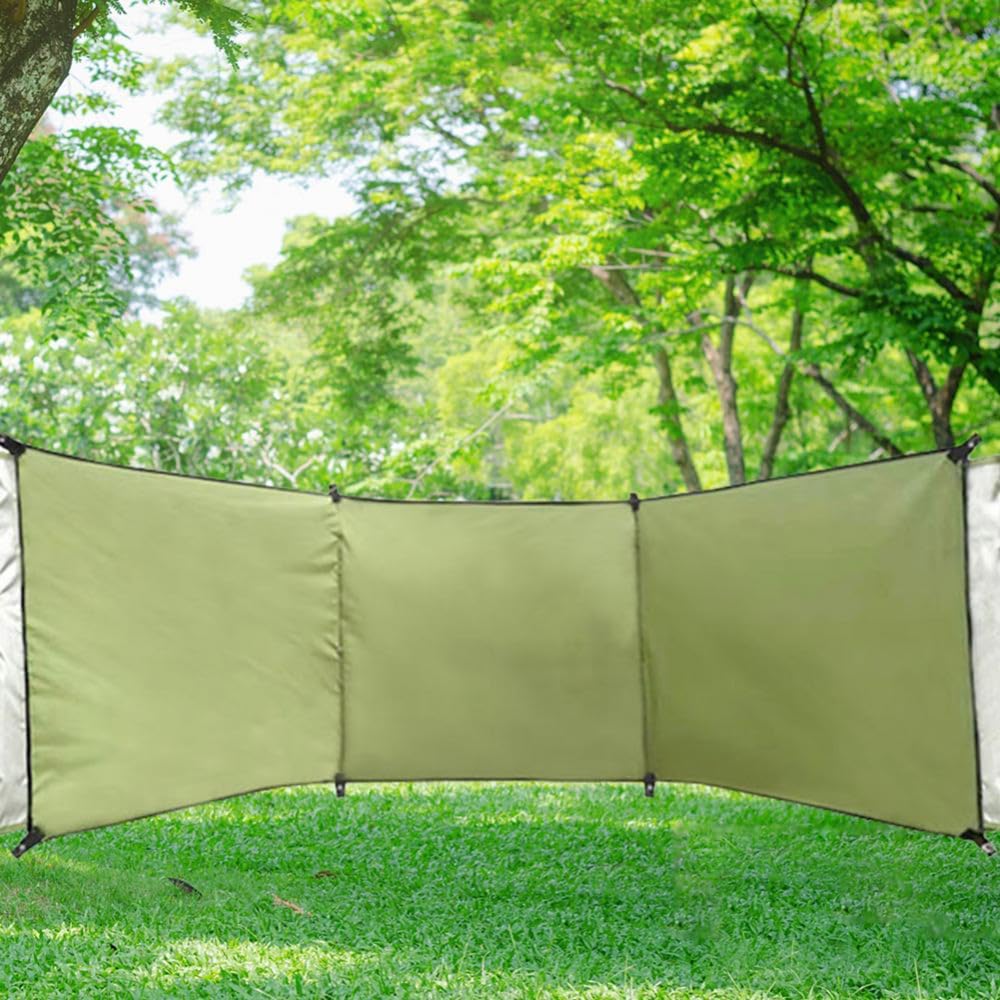
1. WallUp! Outdoor Privacy Wall
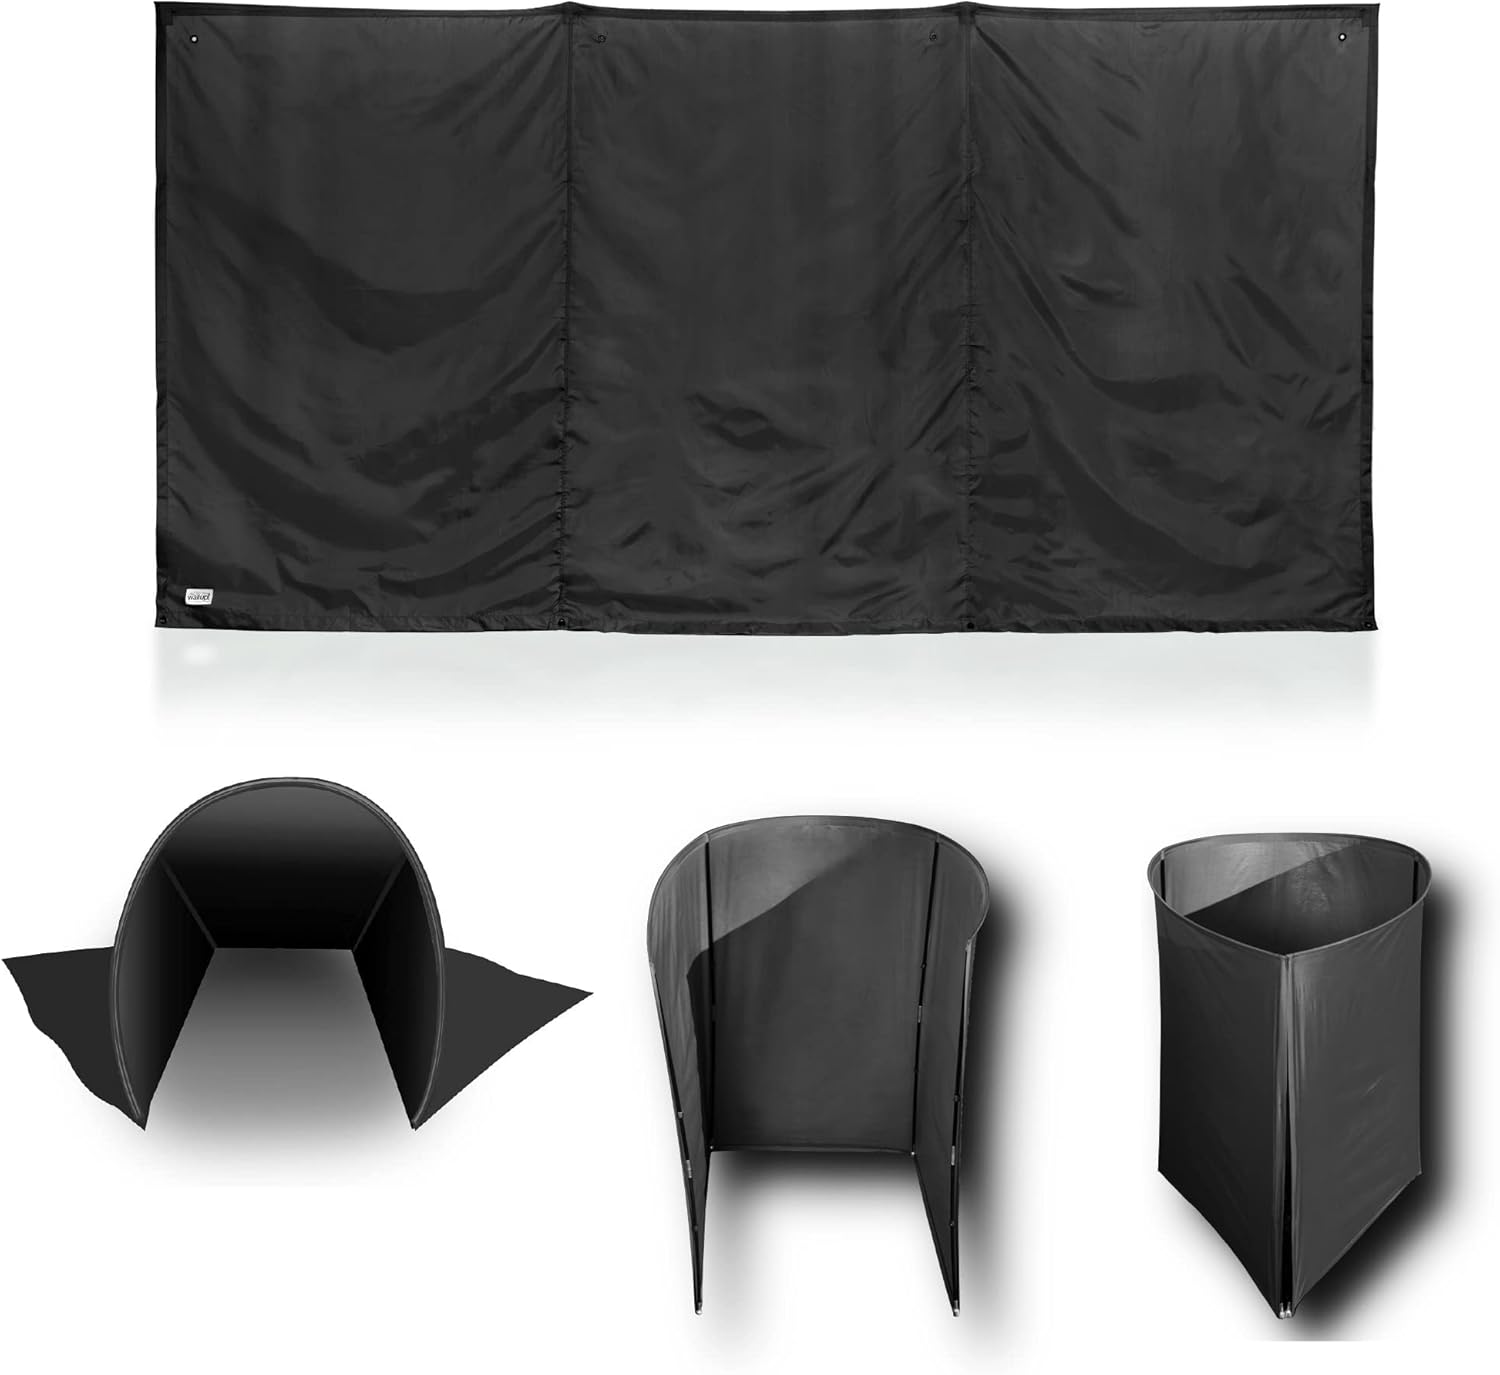
The WallUp! system represents one of the most effective portable privacy solutions for campers seeking substantial coverage. Standing impressively at 6 feet tall and extending 12 feet wide, this free-standing barrier creates an instant privacy zone.
Pros:
- Significant height provides true privacy when standing
- Relatively quick setup with folding pole system
- Includes ground stakes for basic stability
- Packs down reasonably well for transport
Cons:
- Vulnerable to strong winds without additional reinforcement
- Requires soft ground for stake installation
View Product Details on Amazon
Expert Tip: Enhance stability by bringing extra guy lines and stakes to anchor the top corners. For rocky terrain, pack some sandbags to weigh down the base. Setting up perpendicular to prevailing winds reduces wind resistance and potential damage.
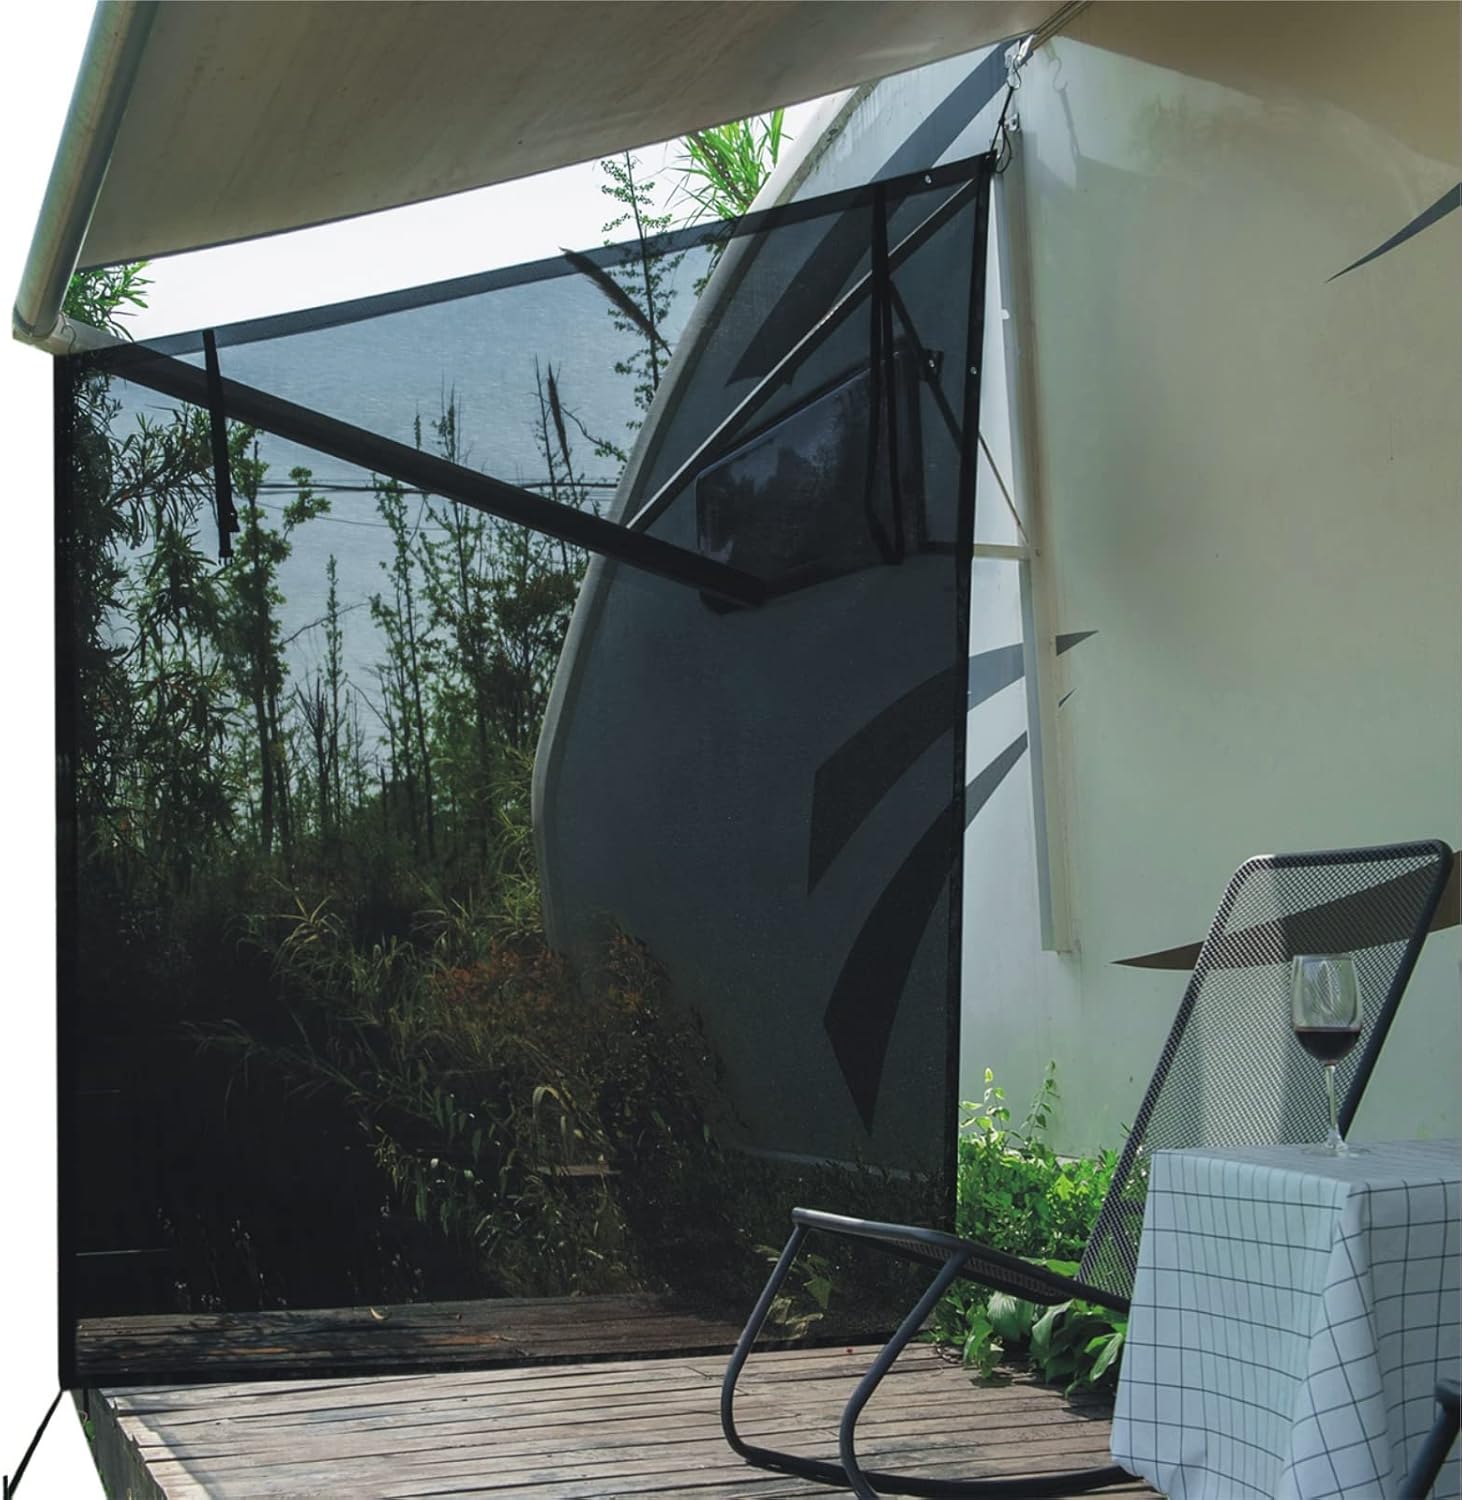
2. Privacy Fence Mesh Screens

These breathable fabric screens provide an excellent balance between privacy and airflow, making them perfect for warmer weather camping. Available in various dimensions and colors, mesh screens can be customized to your specific needs.
Pros:
- Allows airflow while maintaining visual privacy
- Versatile attachment options with reinforced grommets
- Available in various heights, lengths, and colors
- More wind-resistant than solid barriers
Cons:
- Requires existing structures or creative rigging for installation
- Provides less privacy than solid barriers
Expert Tip: Create a complete privacy solution by attaching the screen’s top edge to your RV awning and securing the bottom with adjustable poles or to nearby trees. This creates a wind-resistant privacy wall that doubles as shade.
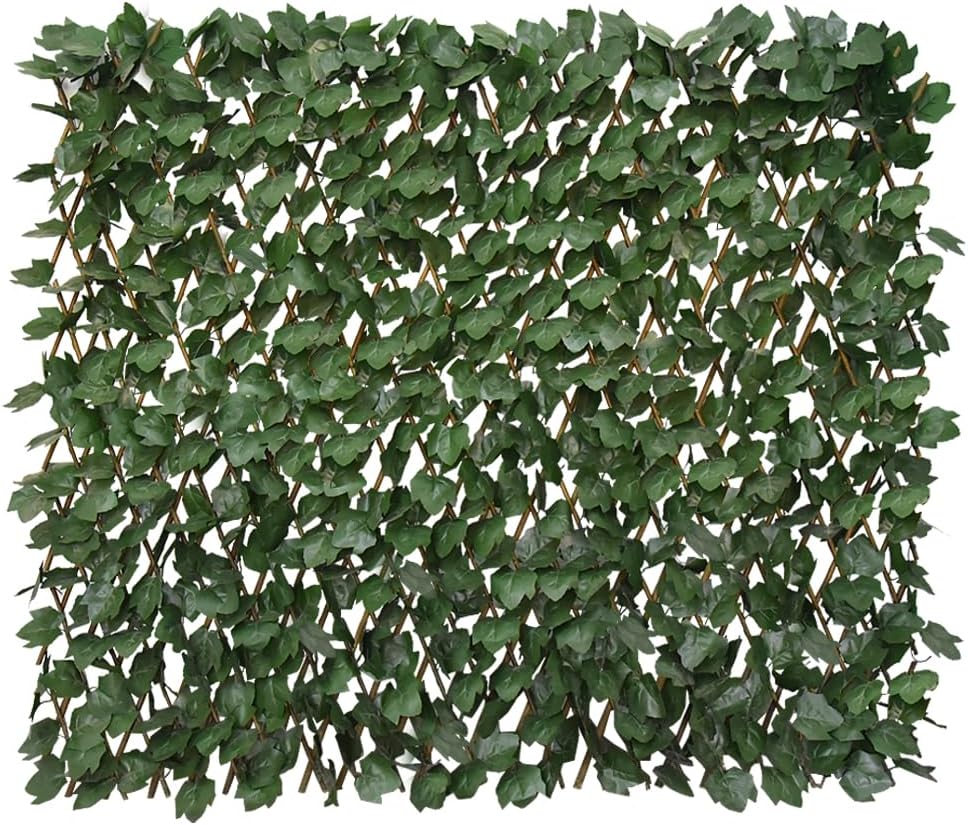
3. Artificial Hedge Privacy Screens

Artificial hedge screens offer a visually appealing alternative to traditional privacy barriers, blending aesthetic charm with practical functionality. These faux foliage panels create a natural-looking boundary that enhances your campsite’s appearance while providing privacy.
Pros:
- Creates a natural, aesthetically pleasing privacy barrier
- Dense foliage pattern offers excellent visual screening
- UV-resistant materials prevent fading over time
- More rigid structure than fabric screens
Cons:
- Heavier than fabric alternatives
- Requires proper support system for installation
- May collect dust and debris requiring occasional cleaning
Expert Application: Instead of simply hanging these screens by the corners (which can cause sagging), create a frame system using tension ropes both top and bottom. For maximum stability, use adjustable poles with bases at 4-foot intervals to support the screen, creating a freestanding hedge wall that won’t collapse in moderate winds.
4. Expandable Lattice Privacy Screens
These versatile accordion-style screens feature a wood or vinyl lattice structure covered with artificial foliage. They provide adjustable width privacy solutions that can be configured to fit various spaces.
Pros:
- Highly adjustable width to fit different spaces
- Self-supporting when properly configured
- Attractive design element beyond mere functionality
- Folds compact for transport and storage
Cons:
- Height limitations when fully extended
- Limited wind resistance without additional anchoring
Strategic Setup: For maximum effectiveness, use these screens in pairs or triplets rather than stretching a single unit to its full extension. This maintains height consistency and proper foliage density. Secure the bottom with tent stakes and the top with guy lines for windy conditions.
Utilizing Your Existing Equipment
5. Awning Privacy Conversion
Transform your RV’s awning into a private outdoor room using simple, cost-effective methods that work with equipment you likely already own.
Standard Approach:
- Attach tarps or specialized privacy panels to your existing awning
- Secure the bottom edges with weights, stakes, or bungee cords
- Create side walls using additional panels or screens
Advanced Setup: Install specialized awning sidewalls with windows that can be opened for ventilation or closed for complete privacy. Some advanced systems include zippered doorways and mesh sections for bug protection.
Materials Guide:
- Heavy-duty tarps: Durable but noisy in wind
- Specialized awning screens: Lightweight with better wind performance
- Outdoor fabric panels: Best appearance but higher cost
6. Strategic Vehicle Positioning
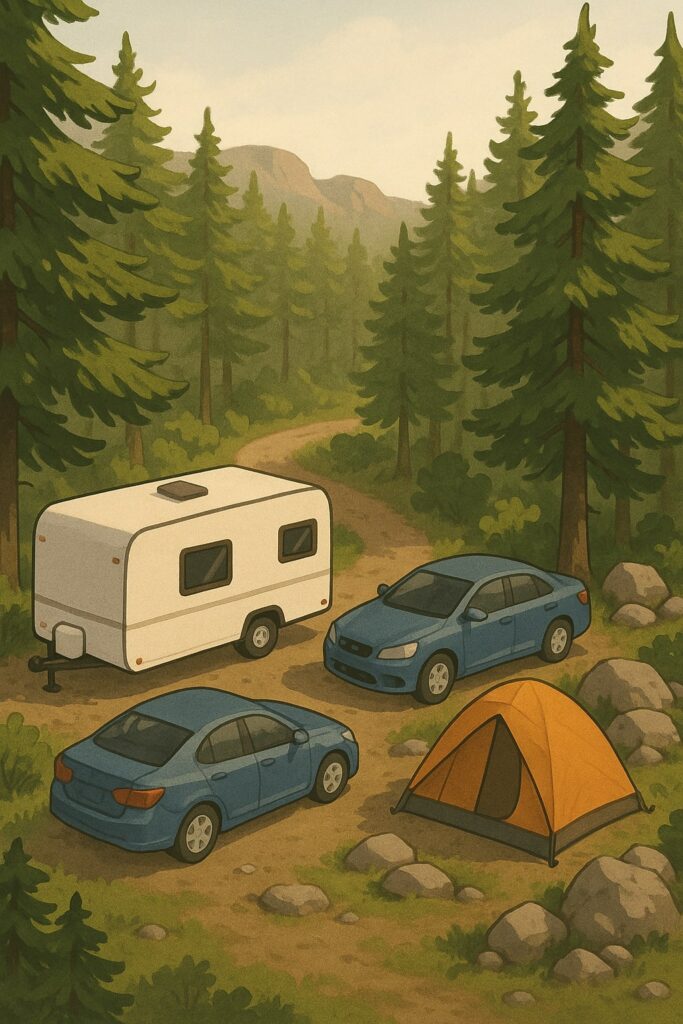
Before setting up camp, analyze your site’s layout to use your RV, car, or other vehicles as natural privacy screens. This zero-cost approach requires only planning and careful positioning.
Effective Techniques:
- Position your RV’s solid side toward busier areas or neighboring sites
- Park additional vehicles to block sightlines from high-traffic paths
- Angle your tent or RV door away from neighbors and toward natural features
- Create an L-shaped barrier using your RV and a vehicle
Site Analysis Factors:
- Sun position throughout the day (balance privacy with shade/light needs)
- Prevailing wind direction (use vehicles as windbreaks)
- Natural features that enhance privacy (trees, rocks, elevation changes)
- Traffic patterns around your site
This strategic approach costs nothing but can dramatically improve your privacy when combined with other methods.
Enclosure and Room Solutions
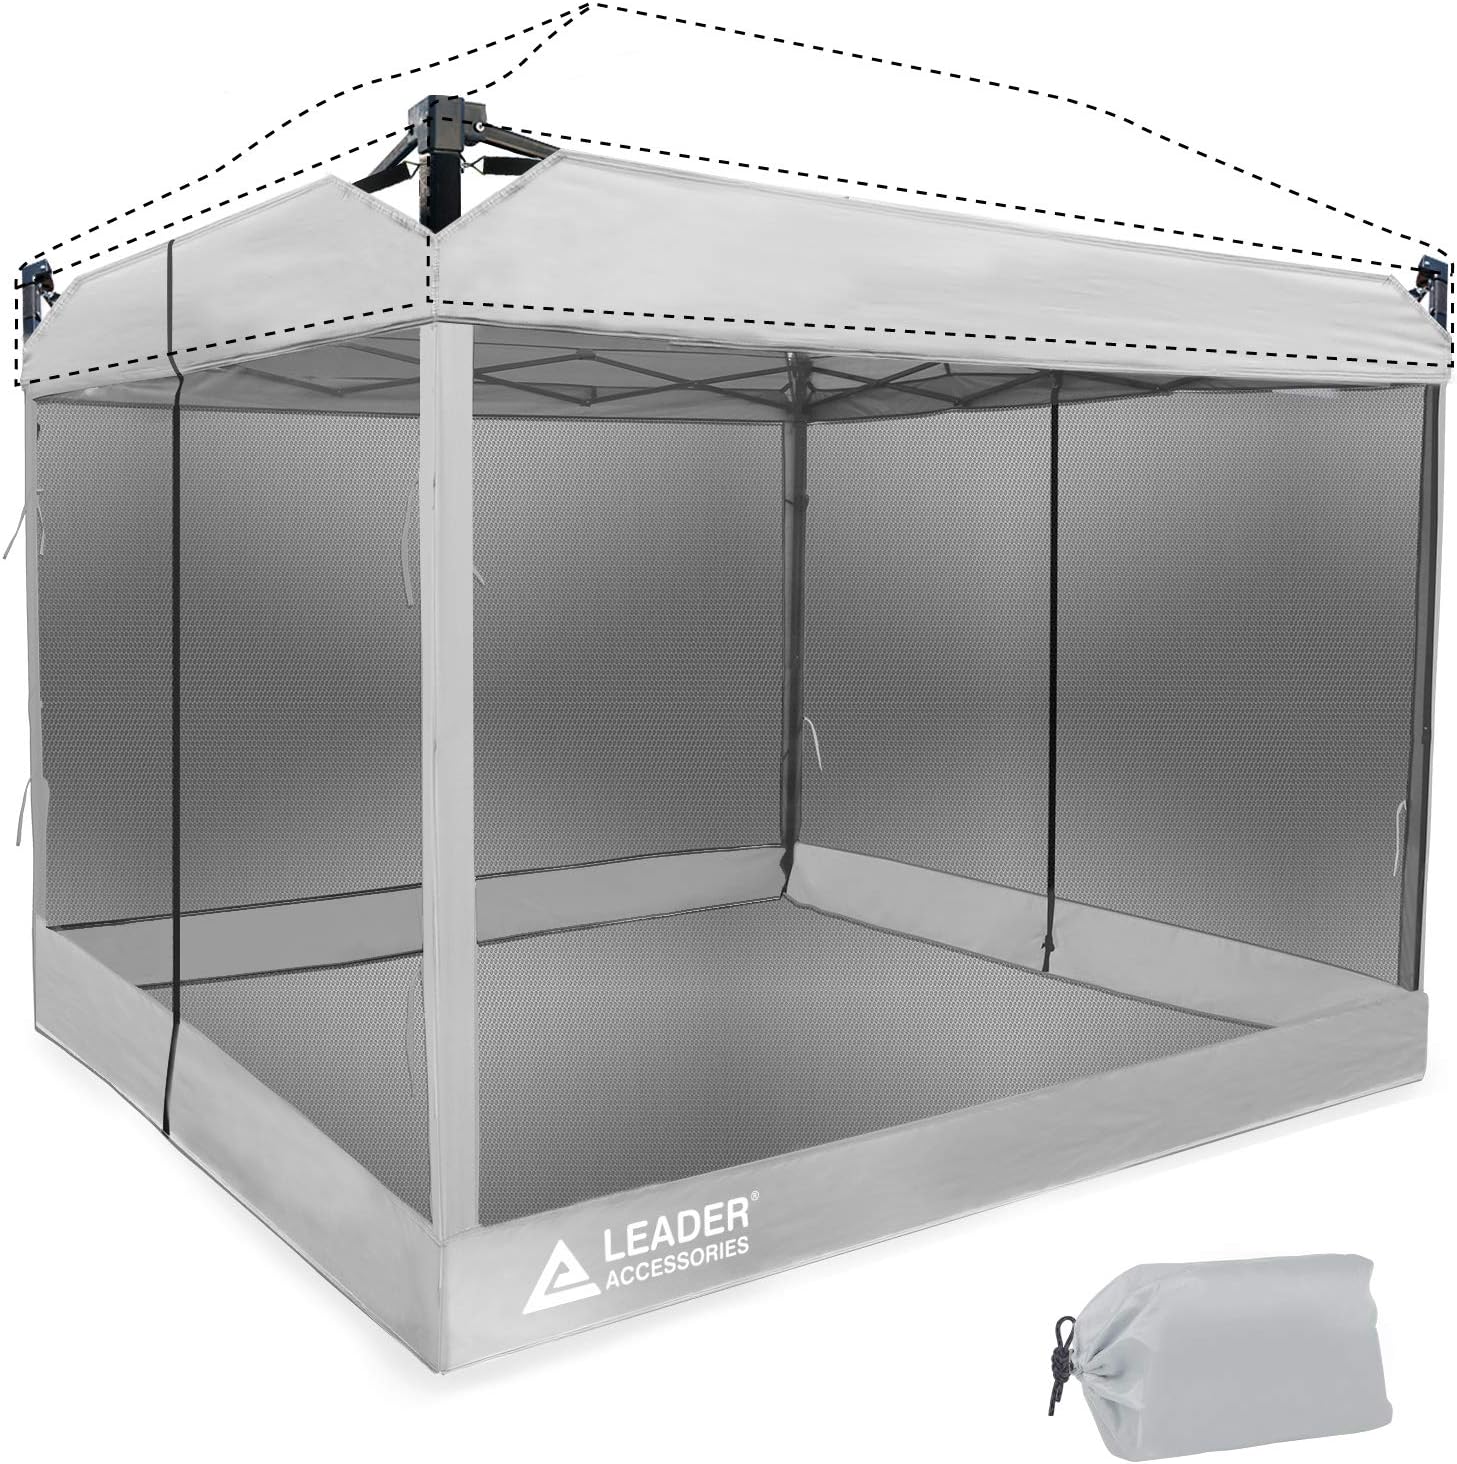
7. Privacy-Enhanced Screen Rooms
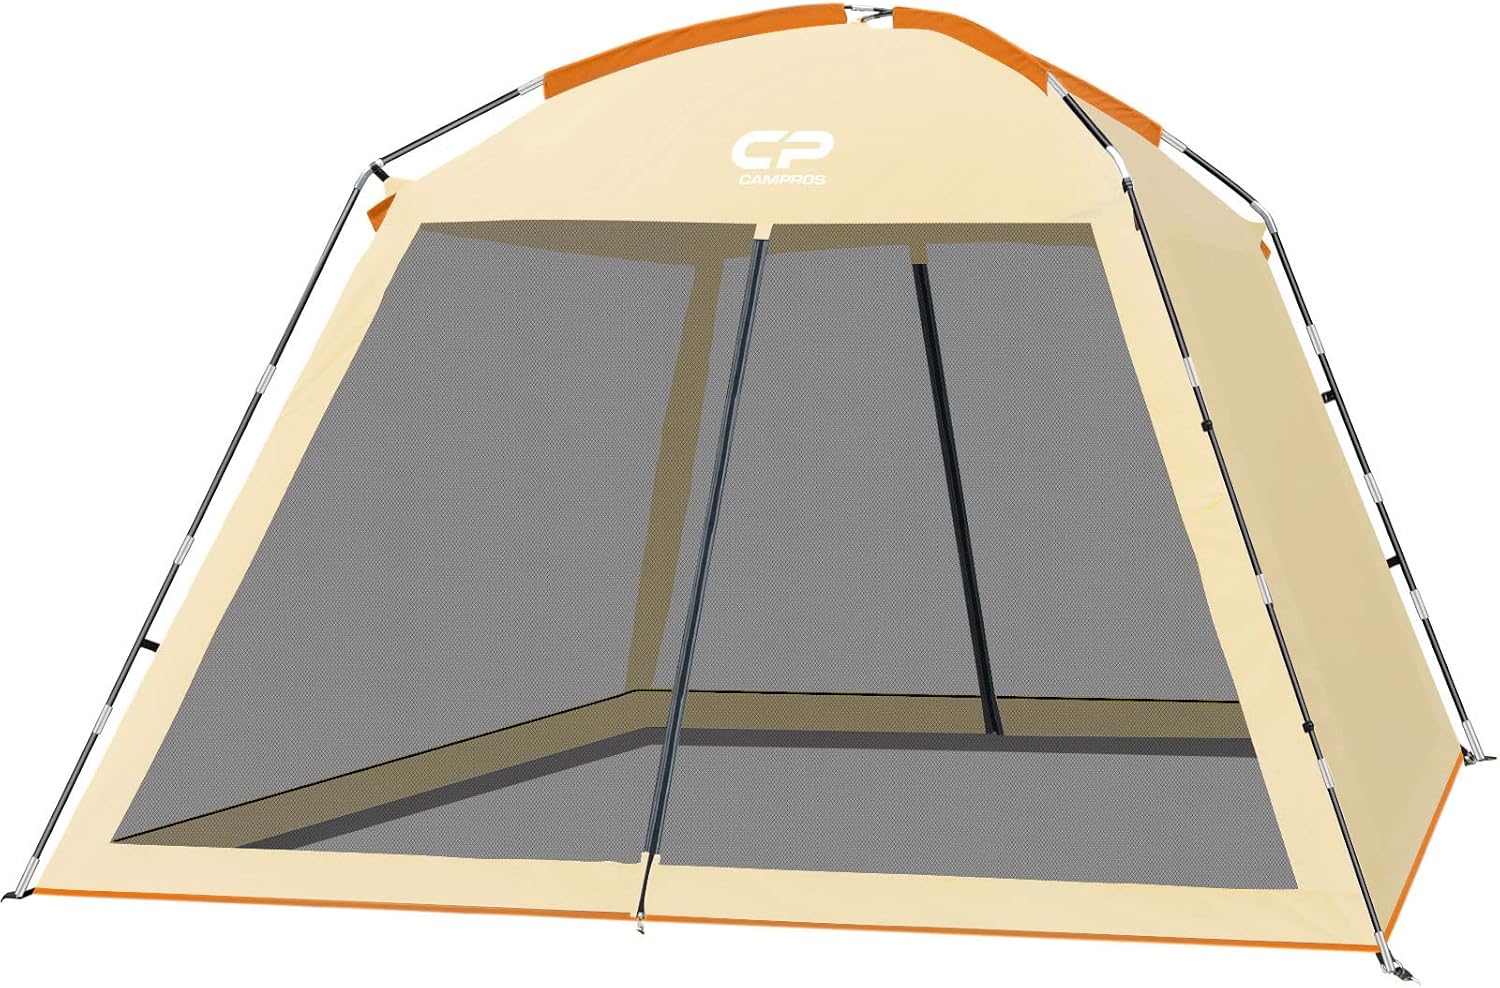
Screen rooms with privacy panels offer versatile spaces that adapt to changing weather and privacy needs. Unlike basic bug screens, these enhanced models feature adjustable walls that can be raised for ventilation or lowered for privacy.
Key Features to Look For:
- Water-resistant roof material
- Wind-resistant construction with proper anchoring
- UV protection rating for sun protection
- Multiple entry/exit points for convenience
- Quick setup design (under 10 minutes)
See the Available Sizes and Colors
Usage Beyond Privacy: These rooms create multipurpose spaces for dining, relaxation, gear storage, or even sleeping on mild nights. The best models allow for configuration changes without complete disassembly.
8. Camouflage Netting Systems

Military-inspired camouflage netting offers a uniquely effective privacy solution that blends with natural surroundings while providing excellent coverage. These versatile systems can be configured in countless ways to address specific privacy needs.
Advantages:
- Exceptional versatility in setup configurations
- Remarkable strength-to-weight ratio
- Natural appearance that complements outdoor settings
- Dual functionality as both privacy screen and sun shade
- Breaks up your campsite’s outline for a more natural appearance
Installation Options:
- Overhead canopy configuration for privacy from elevated viewpoints
- Vertical wall setup for targeted sightline blocking
- Draped configuration over existing structures
- Combined with poles to create freestanding privacy zones
Pro Tip: Layer different densities of camouflage netting to achieve your desired level of privacy. Lighter mesh allows air circulation while denser netting provides complete visual blocking. Use multiple colors to create a more natural appearance that blends with your surroundings.
9. DIY Privacy Solutions
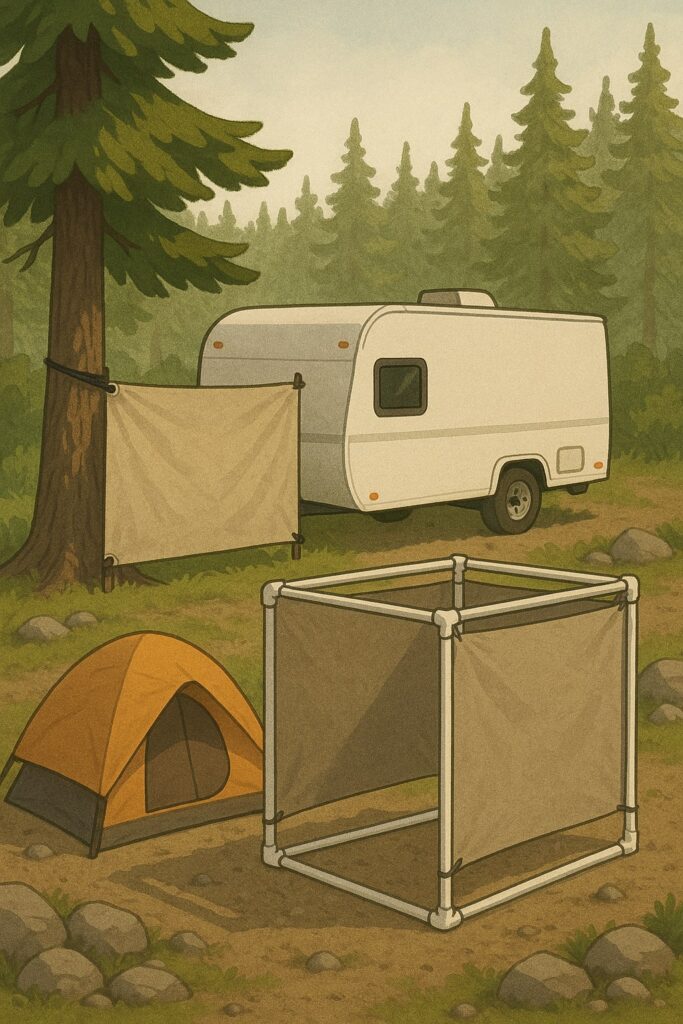
Create custom privacy barriers using everyday camping items and affordable materials from home improvement stores for budget-friendly, personalized solutions.
Simple Sheet Privacy Screen: Transform ordinary bed sheets or lightweight canvas into effective privacy screens by adding grommets along the edges and securing them with bungee cords. This inexpensive solution packs small and adapts to various setups.
PVC Frame System: Construct a lightweight, portable frame using PVC pipes and fittings. This creates a structure to support fabric screens, shade cloth, or even outdoor shower curtains. The system breaks down easily for transport and can be reconfigured for different campsites.
Materials Comparison:
- Painter’s drop cloths: Durable, water-resistant, and neutral color
- Outdoor fabric: Better appearance but higher cost
- Tarp material: Maximum durability but less aesthetic appeal
- Shade cloth: Excellent airflow while maintaining privacy
Supply Checklist:
- Grommet kit for reinforcing attachment points
- Variety of bungee cords and carabiners
- Paracord or lightweight rope
- Tent stakes or ground anchors
- Clamps in various sizes
Specialized Privacy Solutions
10. Portable Room Dividers
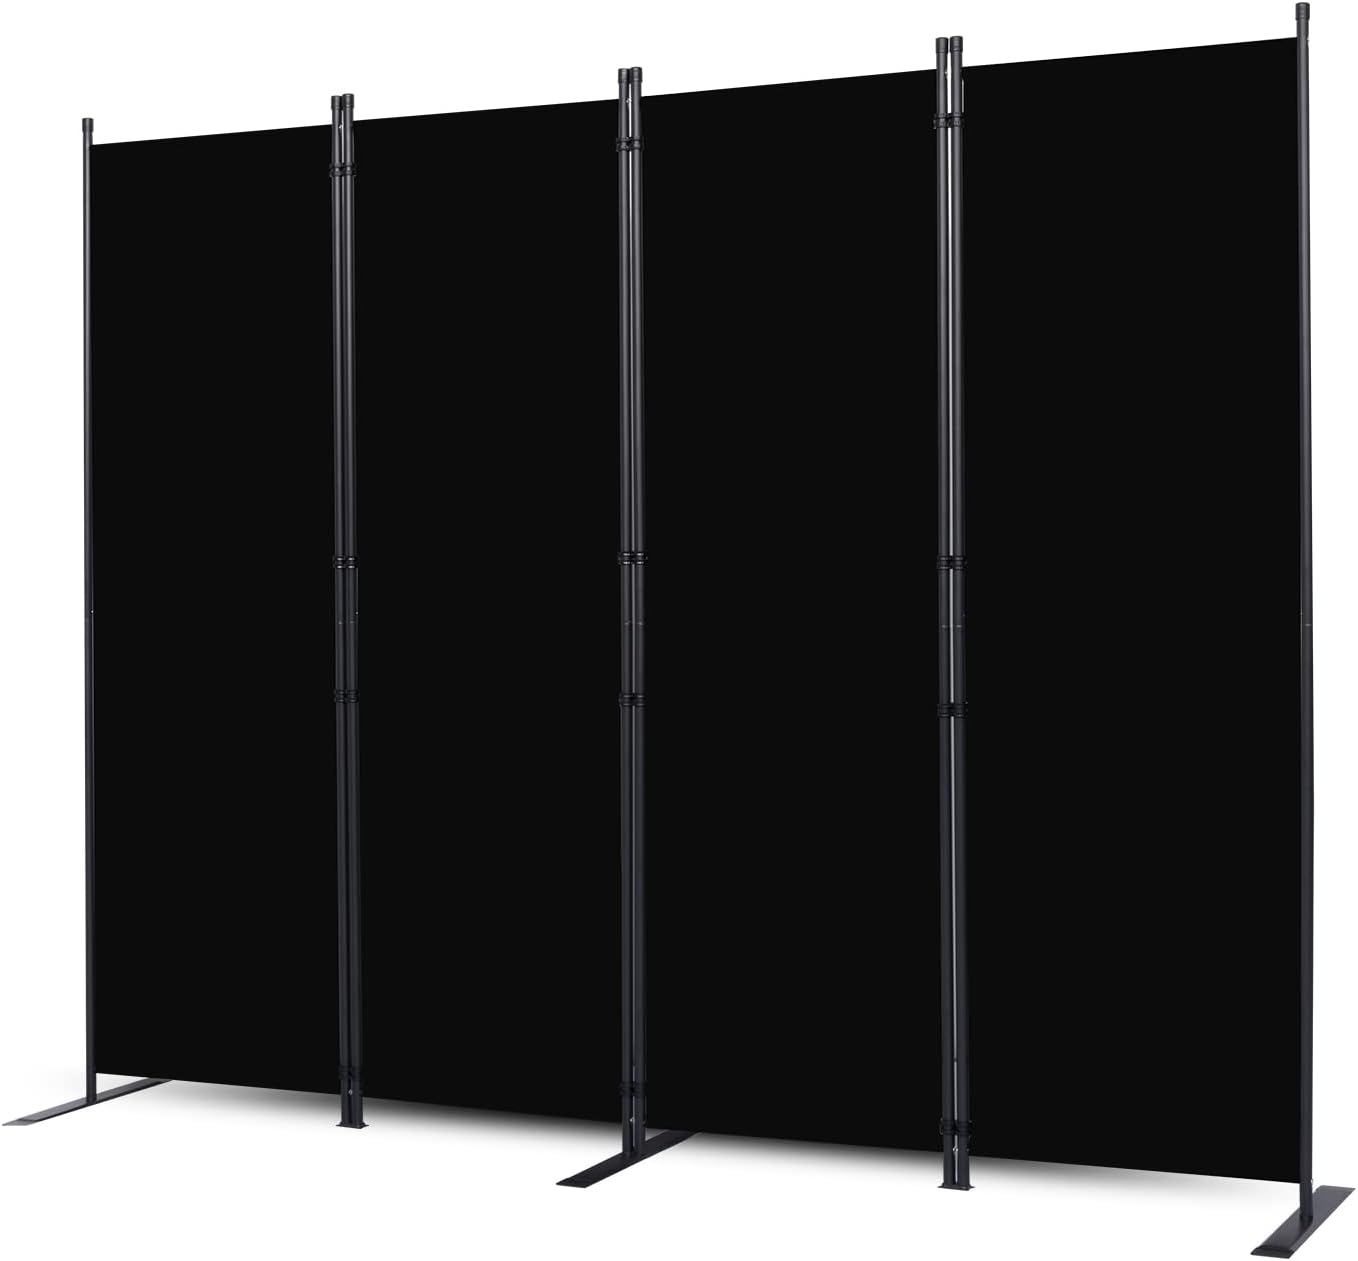
Freestanding room dividers offer quick-deploy privacy solutions that require minimal setup time. While traditionally used indoors, weatherproof versions can effectively create private zones within your campsite.
Selection Criteria:
- Weather resistance rating
- Frame material (aluminum offers best strength-to-weight ratio)
- Panel material (fabric vs. rigid panels)
- Stability features (wider bases, ground anchoring options)
- Height and width dimensions
Stability Enhancement: Most commercial outdoor room dividers benefit from additional stabilization. Create a low-profile base by attaching the divider to a board with small wheels or furniture sliders. This prevents tipping while allowing easy repositioning.
11. Advanced Windbreak Systems
Originally designed to block wind, camping windbreaks have evolved into effective privacy solutions that offer the dual benefit of climate control and visual screening.
Features of Quality Windbreaks:
- Height of at least 4.5 feet for seated privacy
- UV-stabilized materials for durability
- Reinforced stake points and guy line attachments
- Multiple panels for custom configurations
- Quick connect/disconnect system between panels
Setup Strategy: Install windbreaks in a zigzag pattern rather than a straight line to increase stability and create distinct spaces within your campsite. This configuration creates pockets of privacy that serve different purposes (dining, relaxation, changing area).
12. Outdoor Privacy Curtains
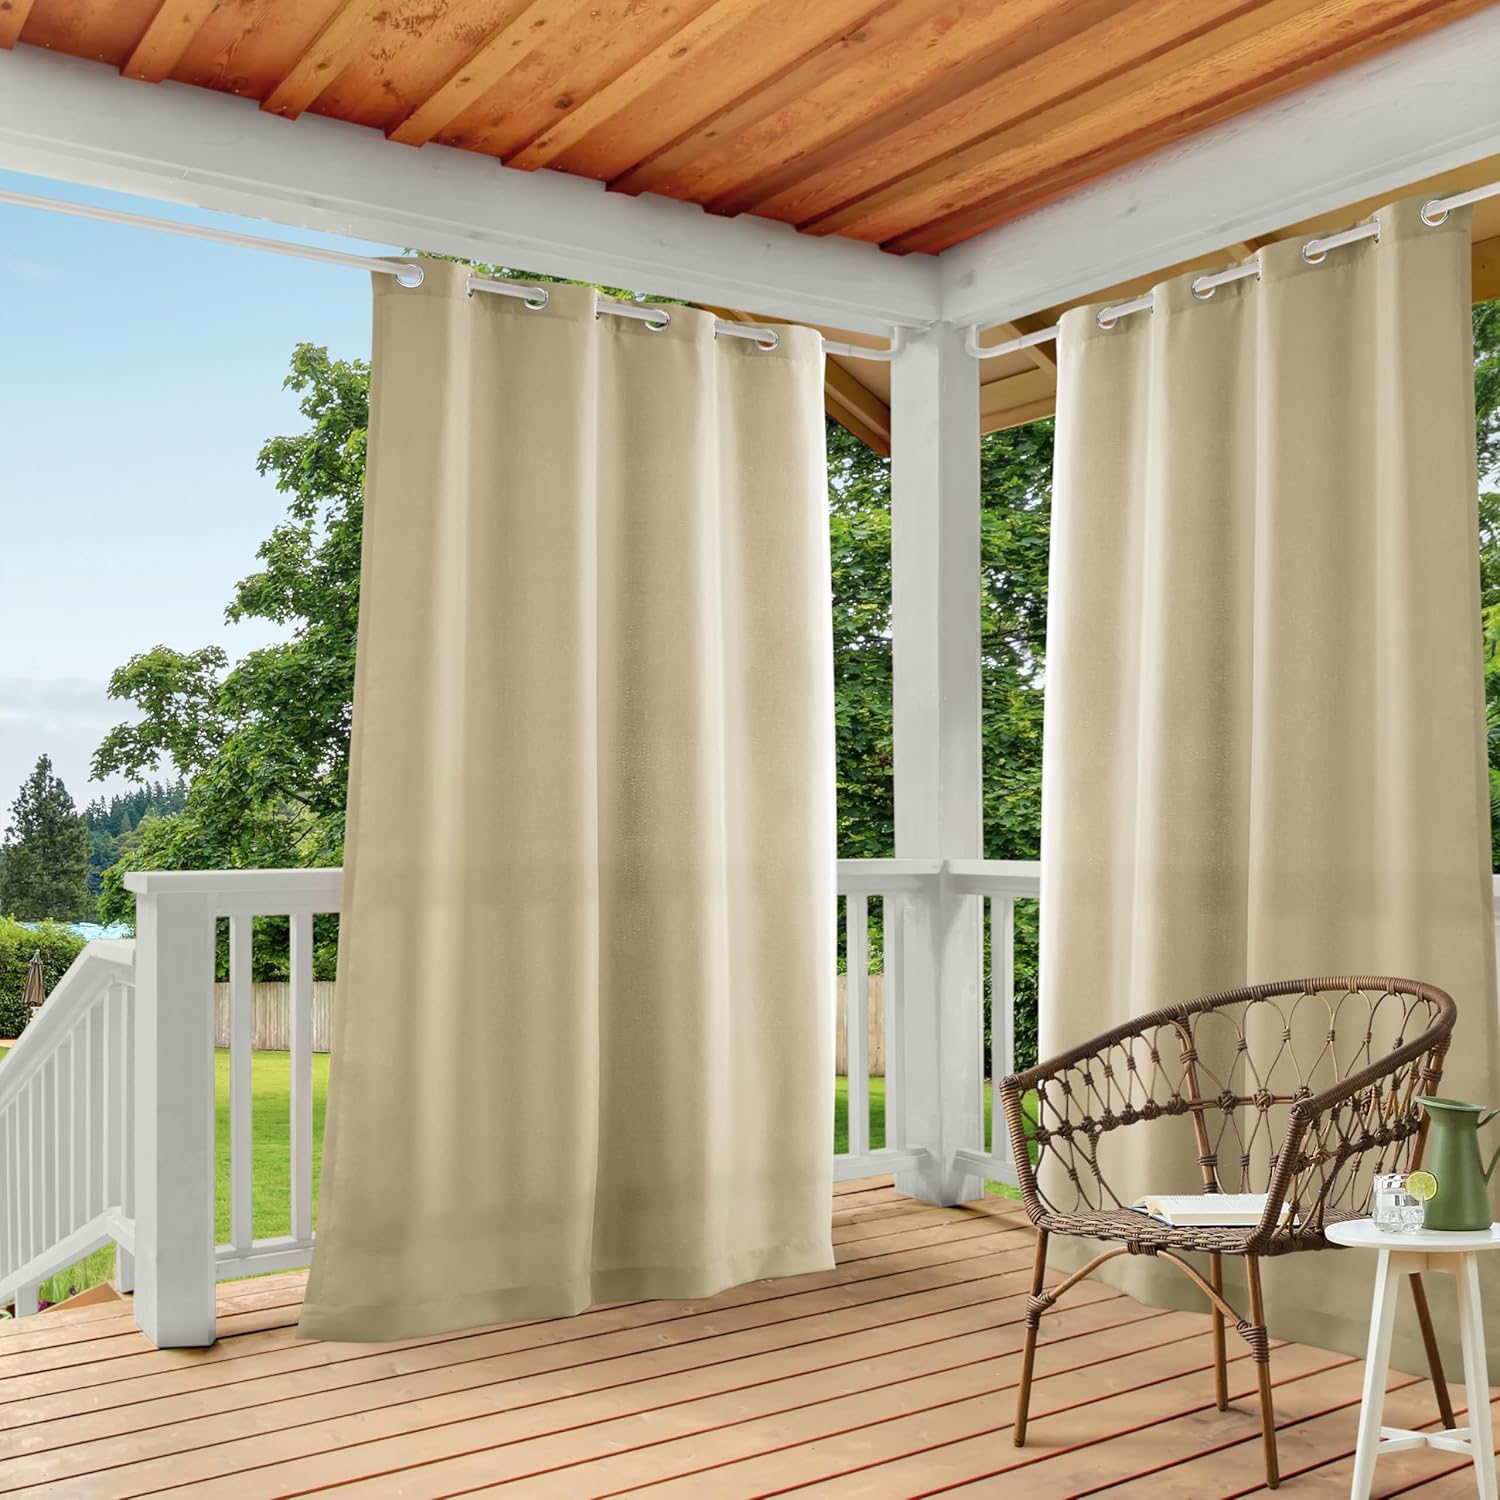
Transform your campsite with outdoor-rated privacy curtains that bring home comfort to the wilderness. These specialized curtains feature UV resistance, quick-dry materials, and reinforced construction for outdoor use.
Installation Systems:
- Telescoping rods between trees or poles
- Tension wire systems with turnbuckles for proper tightening
- Ceiling track systems that attach to RV awnings or canopy frames
- Freestanding curtain frames with weighted bases
Fabric Selection Guide:
- Outdoor polyester: Balances durability, weight, and cost
- Solution-dyed acrylic: Superior fade resistance for extended use
- Olefin fabric: Exceptional moisture resistance and quick drying
- Textilene mesh: Allows airflow while maintaining privacy
View Product Details on Amazon
Design Approach: Create a coordinated look by selecting curtains that complement your camping equipment’s color scheme. This transforms privacy solutions from purely functional to aesthetic enhancements that make your campsite feel like an outdoor living space.
13. Multipurpose Privacy Hammocks
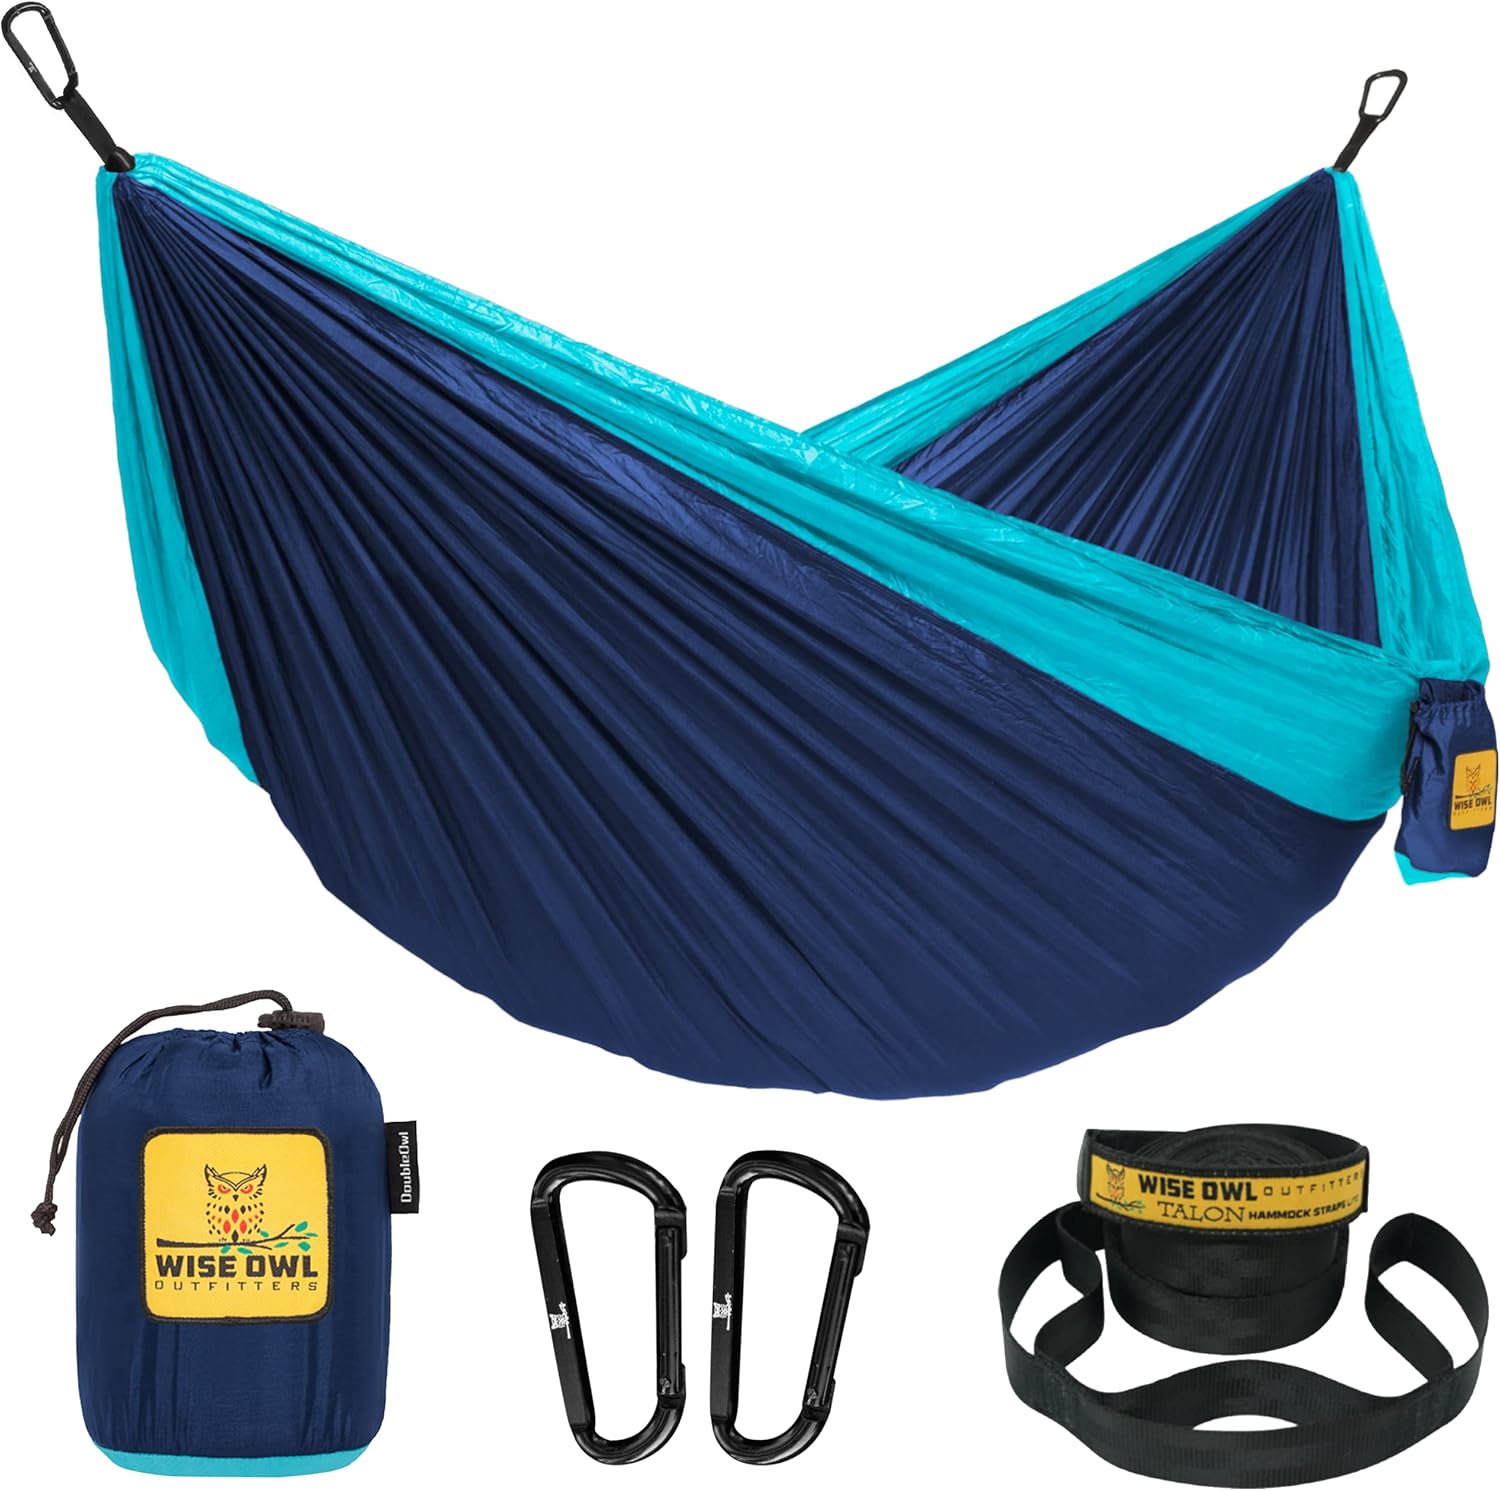
For solo campers or those seeking personal retreat spaces, enclosed hammock systems offer individual privacy pods that combine comfort with seclusion.
Complete Systems Include:
- Full-coverage rain fly that doubles as a privacy shield
- Integrated bug netting with zippered access
- Suspension system for quick setup between trees
- Optional underquilt attachment for temperature control
Creative Applications: Position multiple privacy hammocks in a star pattern around a central area to create individual retreat spaces that maintain group proximity. This arrangement works particularly well for family camping where members desire occasional solitude without complete separation.
14. Portable Privacy Shelter Systems
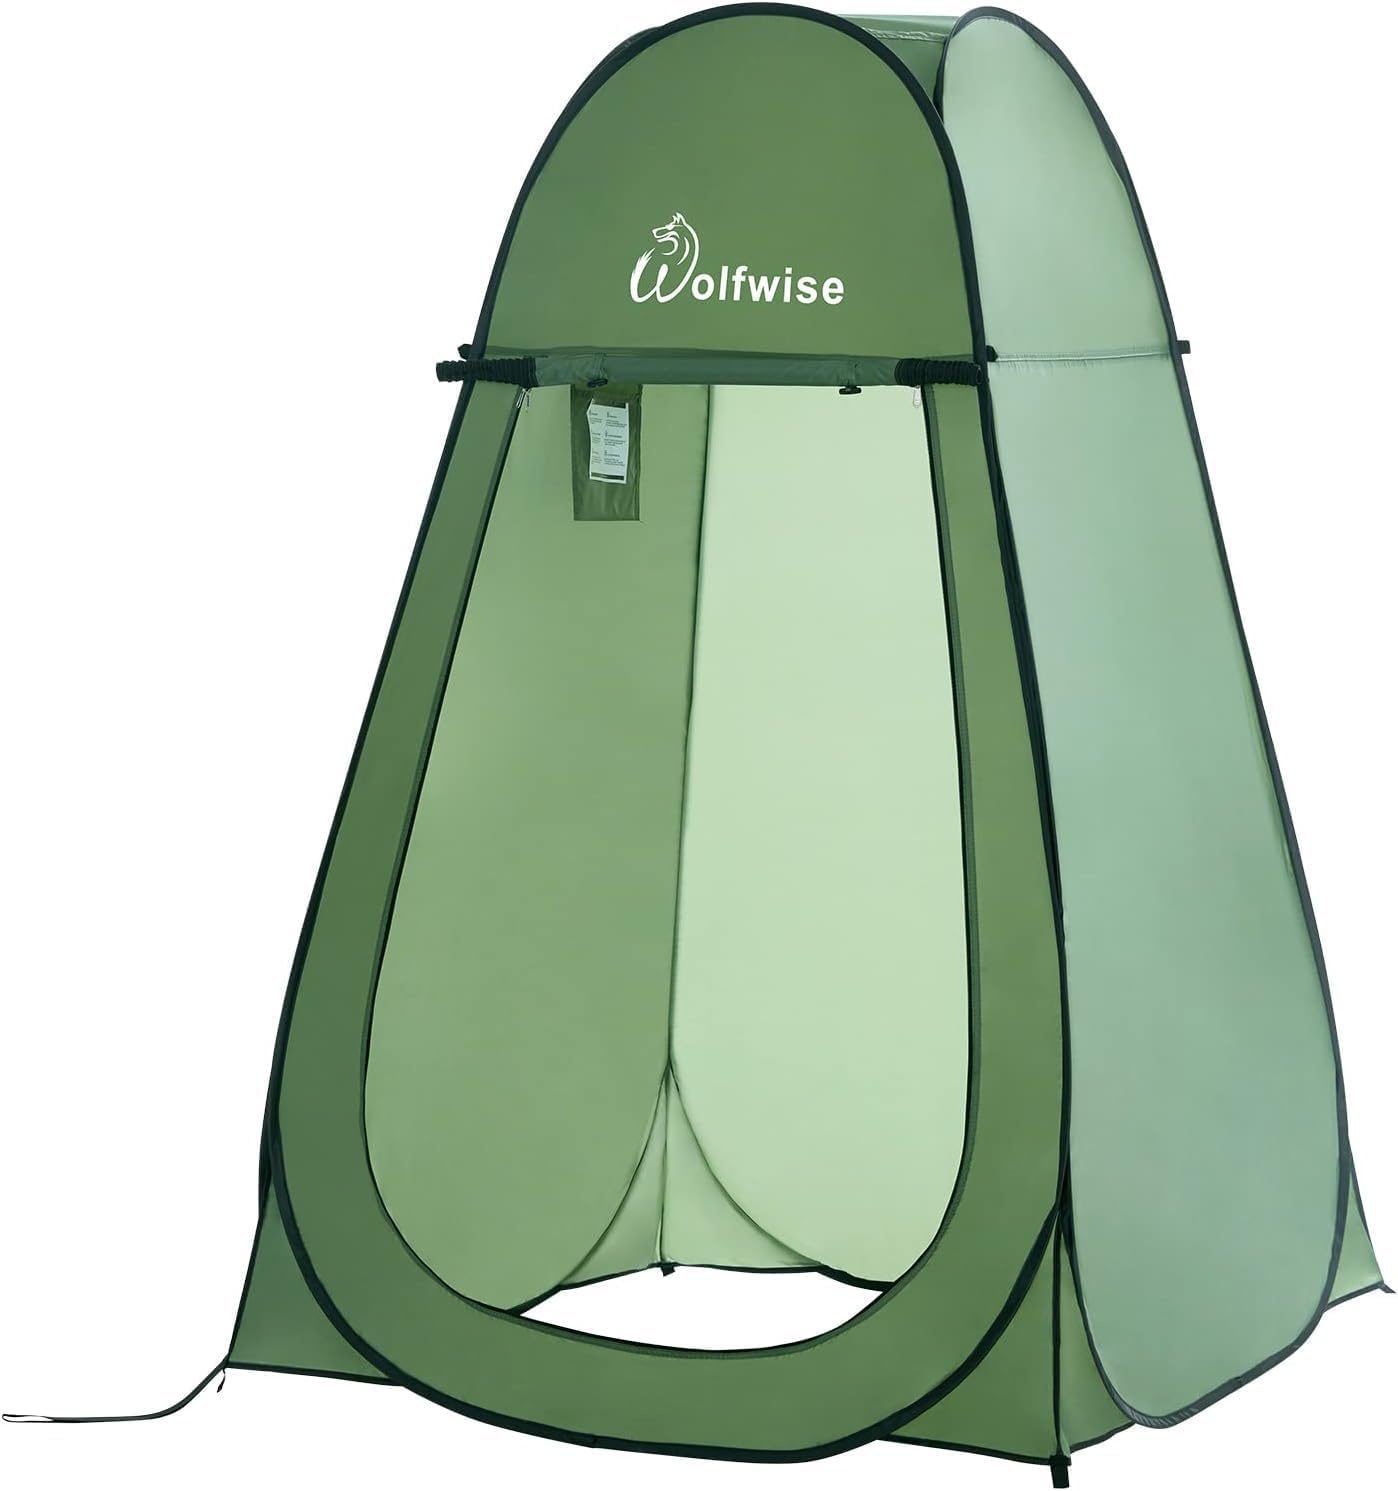
Dedicated privacy shelters provide enclosed spaces for changing clothes, showering, or simply escaping for quiet moments. Modern designs offer rapid setup and surprising interior space.
Advanced Features Worth Considering:
- Reinforced corner structures for stability
- Multiple ventilation options for airflow control
- Internal organization systems (pockets, hooks, etc.)
- Reflective guy lines for nighttime visibility
- Removable/cleanable floor systems
Uses Beyond Changing: These versatile shelters can serve as private relaxation pods, protected gear storage, impromptu offices for remote work, or private dining spaces during inclement weather.
Sizing Considerations: While compact models save space, opting for a shelter with at least 4×4 feet of floor space and 6.5 feet of height provides significantly more versatility and comfort.
Environmental Integration Strategies
15. Natural Barrier Enhancement
Leverage existing natural features to enhance privacy by strategically positioning your campsite to maximize natural screening elements.
Site Selection Strategy:
- Choose corner sites that naturally have fewer neighboring interfaces
- Select sites with established vegetation on key boundaries
- Look for elevation changes that create natural visual barriers
- Prioritize sites adjacent to natural features like rock formations
Temporary Enhancement Techniques:
- Supplement thin natural vegetation with portable privacy screens
- Position your campsite entrance toward natural features
- Create “visual breaks” that interrupt sight lines without completely blocking views
- Use natural materials like fallen branches to create subtle boundary markers
Responsible Practice: Always adhere to Leave No Trace principles when interacting with natural elements. Never damage living vegetation or create permanent alterations to the campsite.
Implementation Strategies for Different Camping Scenarios
Weekend Camping Privacy Solutions
For short camping trips, prioritize solutions that deploy quickly and pack efficiently. Focus on multi-purpose items that serve privacy needs while providing additional benefits.
Recommended Approach:
- Lightweight mesh screens that attach to your existing canopy or awning
- Strategically positioned vehicles as primary privacy boundaries
- Pop-up privacy shower or changing tent for essential private moments
- Camouflage netting for targeted visual screening
Recommended Product
Setup Priority: Implement a 15-minute privacy plan that addresses your most important privacy concerns first. This approach ensures basic privacy needs are met quickly, allowing you to relax and enjoy your limited camping time.
Extended Stay Privacy Systems
For longer camping trips, invest time in creating more comprehensive privacy solutions that enhance your overall camping experience and create distinct outdoor living spaces.
Comprehensive Setup:
- Perimeter definition using a combination of screens, natural features, and strategic equipment placement
- Dedicated zones for different activities (dining, relaxation, sleeping)
- Adaptable elements that can be reconfigured as needed
- Weather-resistant solutions that will last throughout your stay
Progressive Installation: Begin with basic privacy boundaries upon arrival, then enhance and refine your setup over the first day as you observe traffic patterns, neighbor activities, and sun positioning.
Full-Time RV Privacy Considerations
For those living the RV lifestyle full-time, develop modular privacy systems that adapt to different campgrounds while maintaining consistent functionality.
Investment-Worthy Solutions:
- Custom-fit awning privacy walls designed specifically for your RV model
- All-weather privacy screens with reinforced construction for frequent use
- Telescoping privacy poles with adjustable height and width capabilities
- Coordinated design elements that create a cohesive outdoor living space
Location Adaptation Techniques: Develop a “privacy toolkit” with multiple solution types that can be deployed based on specific campground layouts, neighbor proximity, and environmental conditions.
Privacy Etiquette and Considerations
Creating privacy for yourself should never come at the expense of other campers’ experiences. Follow these etiquette guidelines to be a good neighbor while maintaining your personal space:
- Avoid completely walling off your site in a way that creates a “fortress” appearance
- Position privacy screens to minimize impact on scenic views for others
- Consider the visual impact of your privacy solutions on the overall campground aesthetic
- Respect quiet hours when setting up or adjusting privacy equipment
- Be mindful of shadows and light reflection from privacy materials
Conclusion: Creating Your Personal Outdoor Sanctuary
Transforming your campsite into a private retreat doesn’t require elaborate equipment or extensive modification. By thoughtfully combining strategic site selection, proper equipment positioning, and appropriate privacy enhancements, you can create a personalized outdoor sanctuary that balances privacy with the connection to nature that draws us to camping.
The most effective campsite privacy solutions integrate seamlessly with your camping style, enhance rather than detract from the natural environment, and adapt to changing conditions. Whether you’re seeking momentary seclusion for changing clothes or creating a permanently private campsite for extended stays, the techniques and products in this guide provide comprehensive solutions for every camping scenario.
Remember that privacy in camping isn’t about isolation—it’s about creating comfortable boundaries that allow you to fully immerse yourself in the outdoor experience without unnecessary social pressure or exposure. With these expert strategies, your next camping trip can offer both the natural connection and personal space you desire.
What privacy solutions have worked best for your camping style? Share your experiences and creative ideas in the comments below!